Interior Detailing: Clean, Protect and Deodorize a Cabin
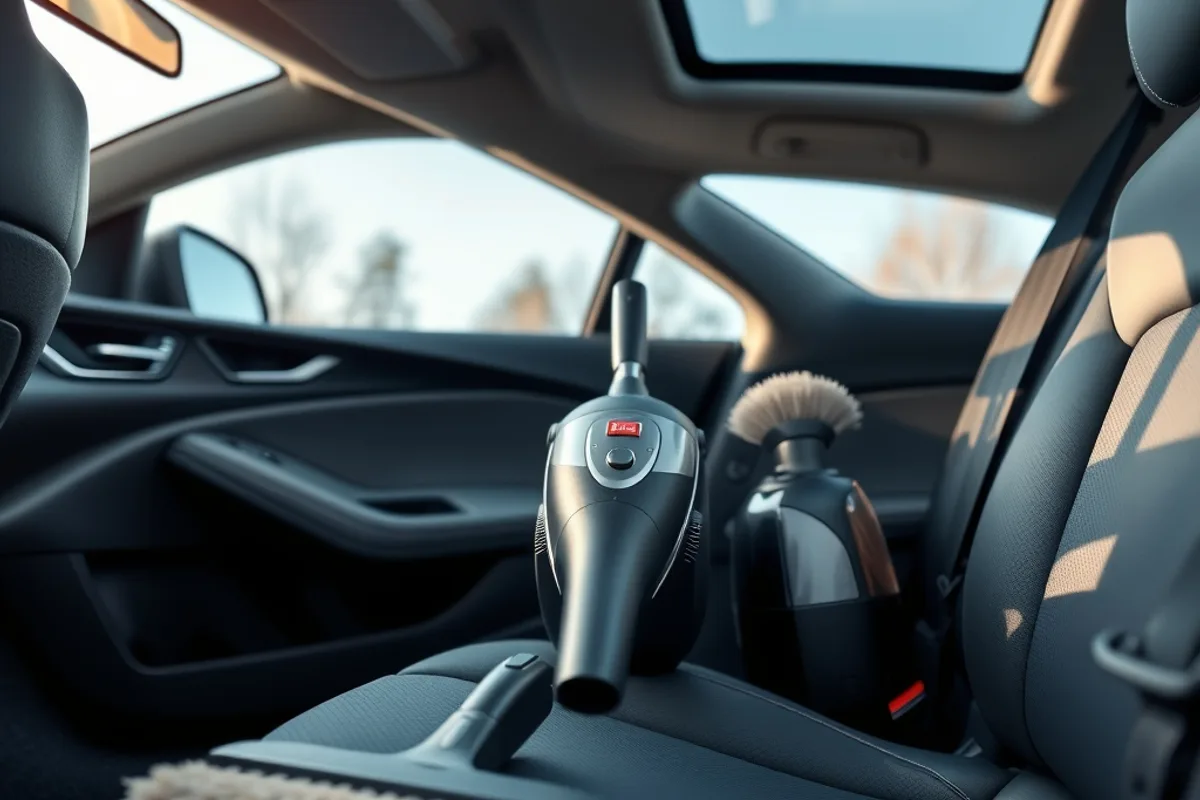
Interior detailing is the part of car care most people skip. The paint gets washed when it looks dirty, but the cabin accumulates crumbs, dust, coffee rings and a faint smell that owners stop noticing. The good news is that a proper interior clean needs only a vacuum, a few brushes, microfiber towels and mild products. It also protects resale value, because a clean cabin signals a cared-for car more clearly than a shiny bonnet.
Work methodically from the top down and from the cleanest areas to the dirtiest. That way you do not drop dust onto a seat you have just cleaned. Set aside two to four hours for a thorough job, and open the doors in shade so the cabin can dry.
1. Empty and vacuum first
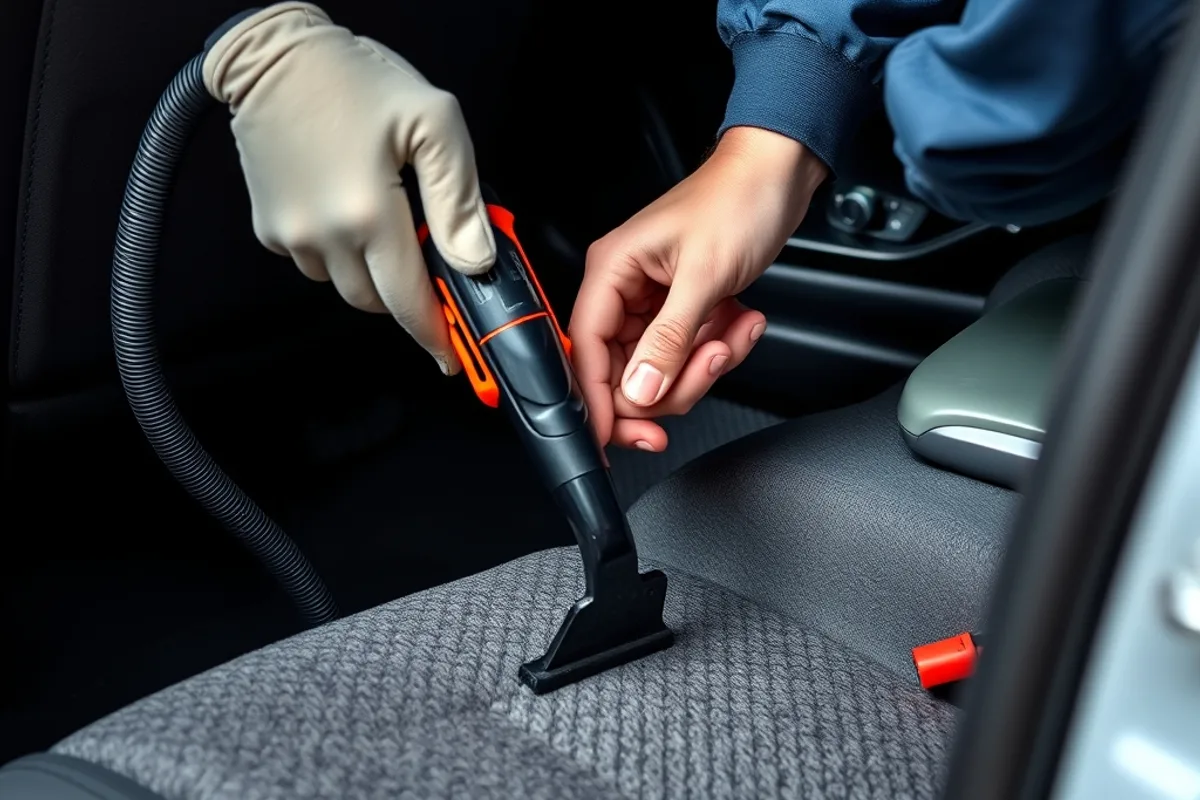
Remove mats, loose items, phone cables and anything in the door pockets. Vacuum the carpets, seats, boot and crevices before you introduce any liquid. Use a crevice tool for the seat rails, under the seats and around the centre console, and a soft brush attachment for fabric seats and headlining.
Shake and vacuum the mats outside the car. If they are rubber, wash them with mild soap and let them dry completely before refitting. A wet mat in a closed car creates the musty smell that owners blame on the air conditioning. Vacuum twice if the car is heavily used, because the first pass lifts the bulk and the second removes the fine dust.
2. Clean the dashboard and plastics
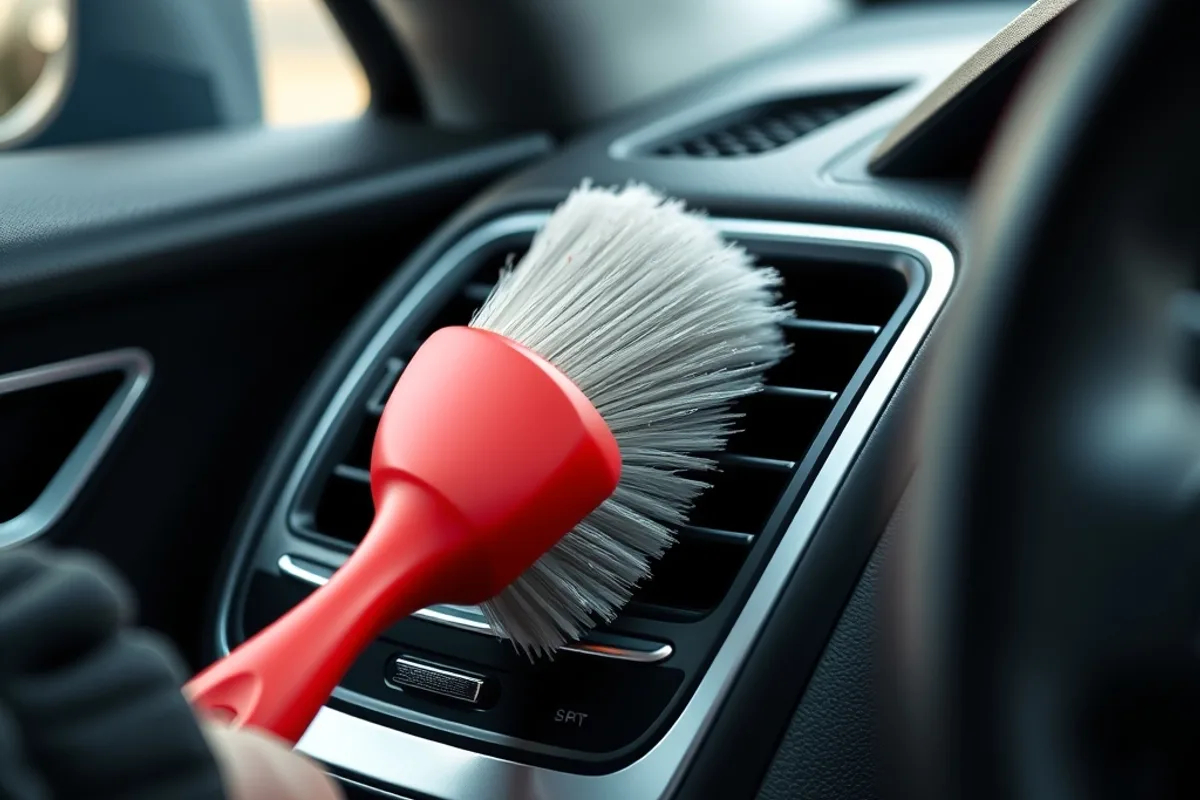
Dust the dashboard, vents and door panels with a soft brush before wiping. Spray a mild interior cleaner onto a microfiber towel rather than directly onto the surface, then wipe evenly. Use a small brush for vent slats and buttons, and a cotton swab for the tight gaps around the infotainment screen.
Avoid glossy silicone dressings on the dashboard. They reflect sunlight into the windscreen and can make the surface slippery. A matte finish looks factory-fresh and is safer. Be careful around airbag panels and never block a sensor or a vent with product residue. For touchscreens, use a dedicated screen cleaner or a slightly damp microfiber, not a general-purpose plastic cleaner.
3. Treat fabric and leather correctly
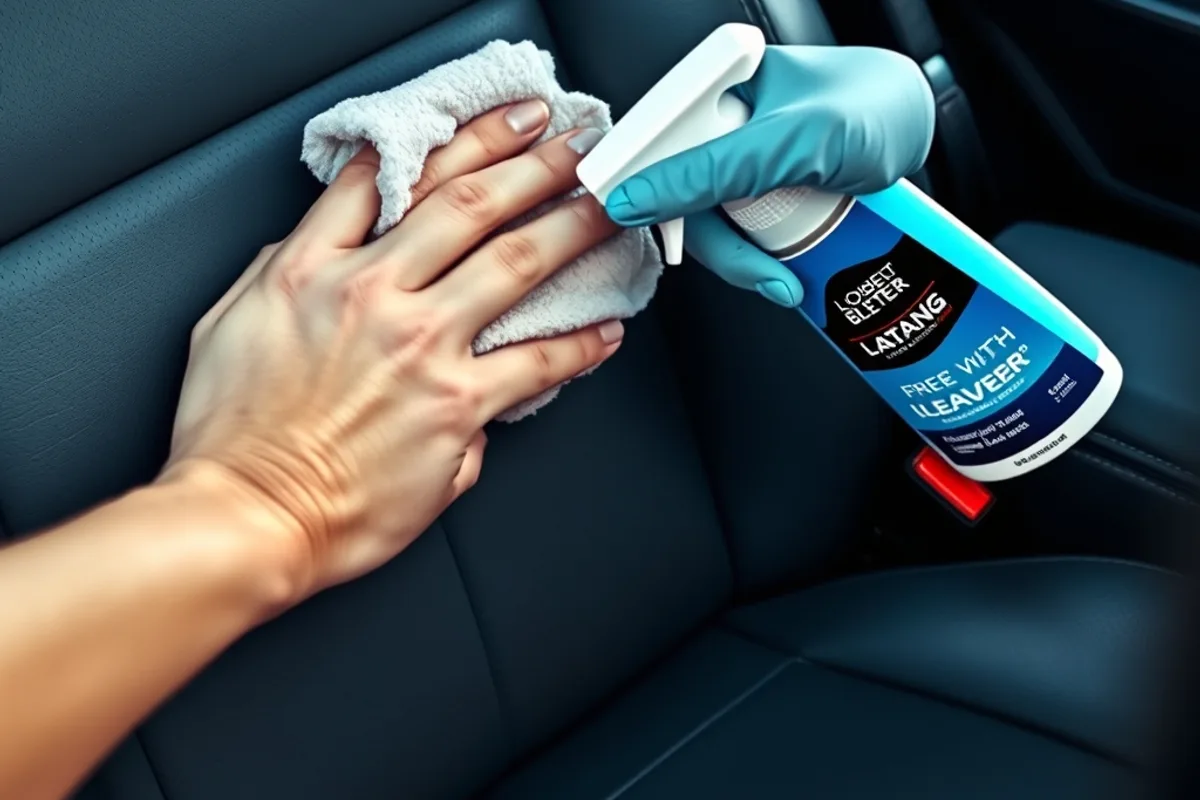
Fabric seats need a mild upholstery cleaner and very little water. Spray, agitate gently with a soft brush, then extract or blot with a clean towel. Do not soak the foam, because trapped moisture causes mould and odours. Work one section at a time and let the cabin air dry with the doors open.
Leather needs a different approach. Clean with a pH-neutral leather cleaner and a soft cloth, then apply a small amount of conditioner if the manufacturer recommends it. Modern coated leathers do not absorb conditioner like old aniline hides, so a thin layer is enough. Avoid aggressive all-purpose cleaners, which strip the protective coating and leave the surface sticky.
Check the owner's manual before using any product on Alcantara, suede or ventilated seats. These materials can be permanently marked by the wrong cleaner. Test in an inconspicuous area first, and use separate towels for fabric and leather so you do not transfer dirt.
4. Clean glass and mirrors
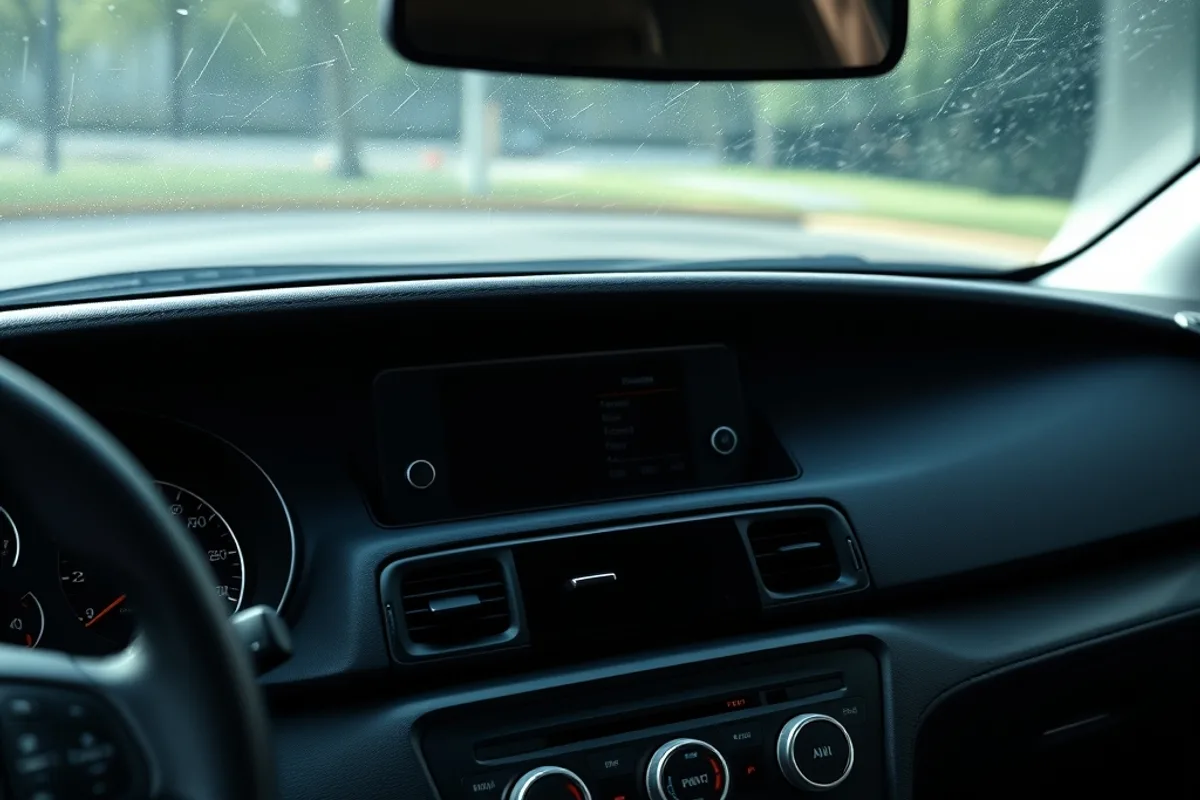
Streaky glass is the fastest way to make a detailed cabin feel unfinished. Clean the inside of the windscreen with a dedicated glass cleaner and a lint-free towel, working in overlapping strokes. Reach the bottom corners where films build up, and use a second dry towel to buff away residue. Clean the mirrors, the instrument cluster cover and the screen with the appropriate product.
Do not use the same towel you used on the dashboard, because it will smear oils across the glass. If the windscreen has a heavy film, clean it twice: once to lift the contamination and once to remove the residue. Finish with the rear window and the side glass, and check the result from outside in daylight.
5. Remove odours at the source
Air fresheners mask smells rather than remove them. Find the source first: old food, damp mats, a blocked drain, a spilled drink or a dirty cabin filter. Clean the area, dry it thoroughly and replace the cabin filter if it is due. For persistent smells, a professional ozone or enzyme treatment may be needed, but only after the source is gone.
Leave the car ventilated after cleaning, ideally with the windows down and the air conditioning on fresh-air mode for a few minutes. Avoid soaking the carpets in perfume or fabric spray, because the scent will fade and the moisture may remain. A clean, dry cabin smells of nothing, which is exactly what a buyer wants.
6. Protect and maintain
Once everything is clean, apply a UV protectant to plastics and vinyl if the maker recommends it, and use a fabric protector on seats only if you are comfortable with the product. Keep a small microfiber towel and a bin bag in the car for everyday mess, and vacuum monthly rather than waiting for a full detail.
For general guidance on safe products and care intervals, the Auto Care Association is a reliable reference. Read the label, test first and keep the cabin dry. A clean interior is easier to maintain than to rescue, and the difference is obvious every time you open the door.
The final check
Before you call the job done, sit in each seat and look around from the driver's position. Check the door pockets, the glovebox, the boot and the area under the seats. Make sure no product residue remains on the controls, and confirm the glass is clear from every angle. A careful interior detail makes a used car feel newer and a new car stay that way, and it costs far less than the wear it prevents.
A clean interior is not about strong chemicals. It is about removing dirt, then removing the moisture you used to lift it.Emerson Lopze Editorial
We cross-check our advice against independent, official sources. For safety data see the National Highway Traffic Safety Administration, and for real-world economy figures see FuelEconomy.gov.