Two-Bucket Wash and Ceramic Seal: A Weekend Detail
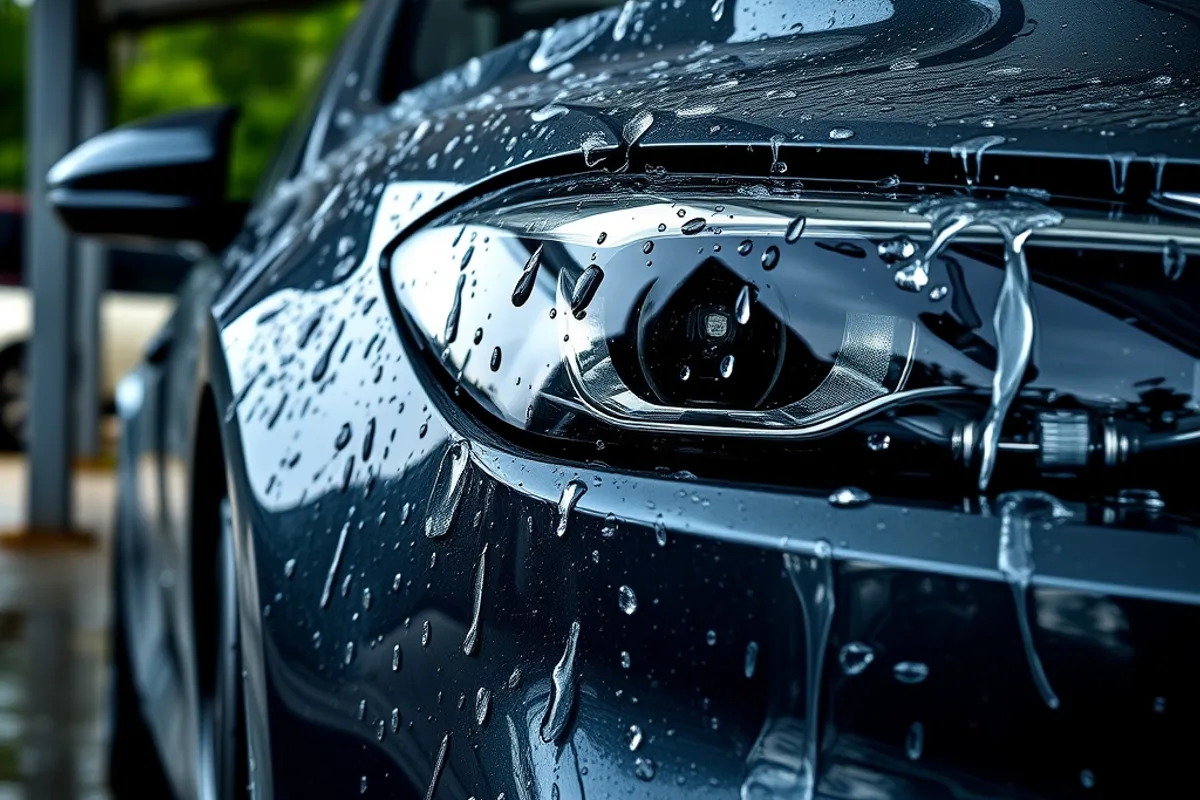
A weekend detail is not about buying a shelf of products. It is about controlling the order of work so each step supports the next. Wash the car badly and you grind grit into the paint. Skip decontamination and the sealant bonds to dirt instead of clear coat. Rush the polish and you create haze that takes another hour to remove.
This plan covers a safe two-bucket wash, clay decontamination, a light machine polish and a ceramic spray sealant. It suits a daily driver with normal wear. Work in shade, on cool panels, and give yourself most of a day.
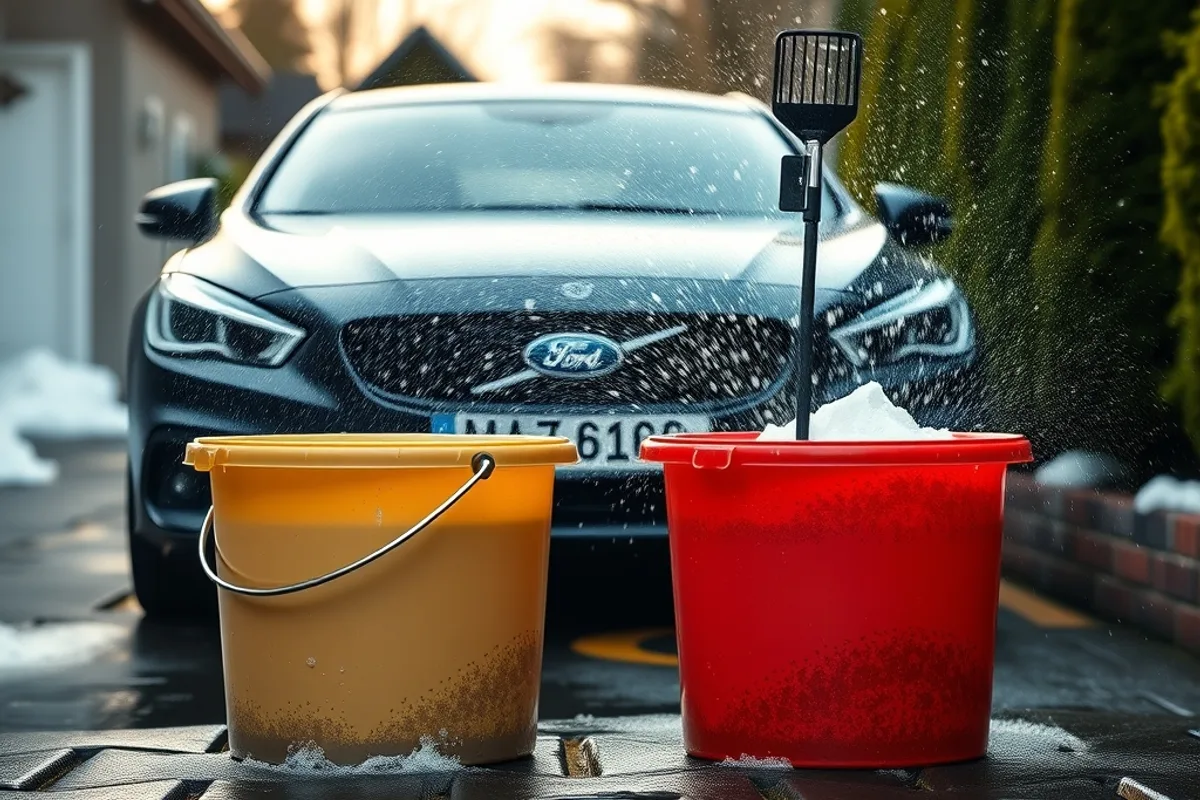
1. Wash with two buckets and a grit guard
Rinse the car first to lift loose dirt. Fill one bucket with clean water and a second with shampoo solution, and put a grit guard in each. The guard traps grit at the bottom so the wash mitt does not pick it back up. Wash from the top down, because the roof and upper panels collect less contamination than the lower doors and sills.
Use a soft microfiber mitt and one panel at a time. Rinse the mitt in the clean bucket before reloading it with shampoo. Keep a separate mitt or brush for wheels and tyres, and never use that tool on paint. Clean the wheel arches and fuel filler area, then rinse the whole car from top to bottom.
Dry with a plush microfiber towel or a filtered blower. Do not let the car air dry in the sun, because water spots etch into the clear coat. If you drop a towel or mitt on the ground, replace it. That rule alone prevents most of the scratches people blame on their polish.
2. Decontaminate the paint
Clean paint can still feel rough. Put a plastic bag over your hand and run it across a panel. If it drags, the surface has bonded contamination that shampoo cannot remove. Spray an iron remover and watch for a purple reaction, then rinse thoroughly. Tar spots need a dedicated tar remover, and tree sap should be softened before you touch it.
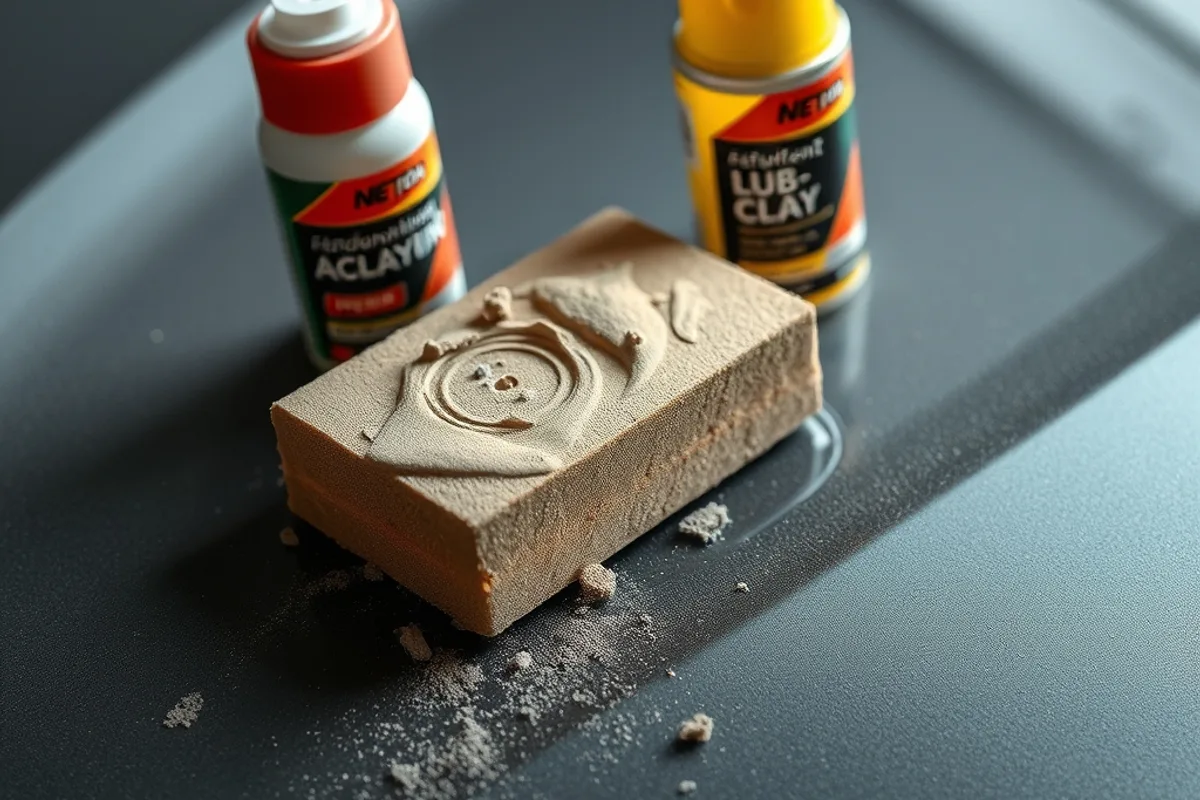
Use a clay bar with plenty of lubricant and very light pressure. Work small sections, fold the clay as it picks up dirt and knead it back into a clean surface. If the clay drops, throw it away. When the bag test feels smooth and glassy, the paint is ready for polishing.
3. Polish only what needs polishing
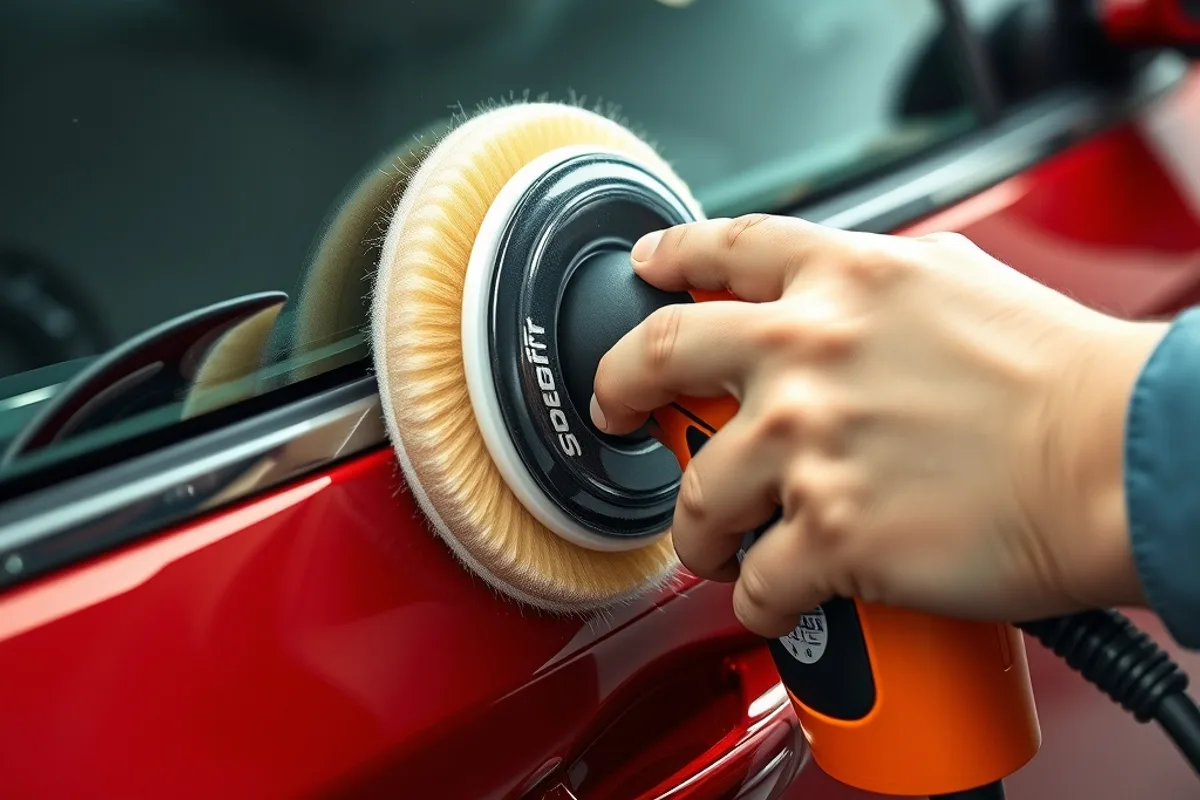
Swirl marks and light scratches live in the clear coat. A dual action polisher with a foam pad and a fine polish removes them with far less risk than a rotary buffer. If your paint is already glossy, a finishing polish or even a paint cleanser may be enough. Test a small area first and inspect it under a bright light.
Prime the pad, spread the polish at low speed, then work in overlapping passes at medium speed. Keep the polisher moving and let the machine do the work. Wipe the residue with a clean microfiber and check the result in daylight. Clean your pads regularly, because a clogged pad stops cutting and starts marring.
Do not polish in direct sun or on a hot panel. The polish will dry too fast and the pad will drag. Tape off plastic trim and panel gaps if you are working near them, and use a light touch around edges and raised body lines where the clear coat is thinner.
4. Apply a ceramic spray sealant
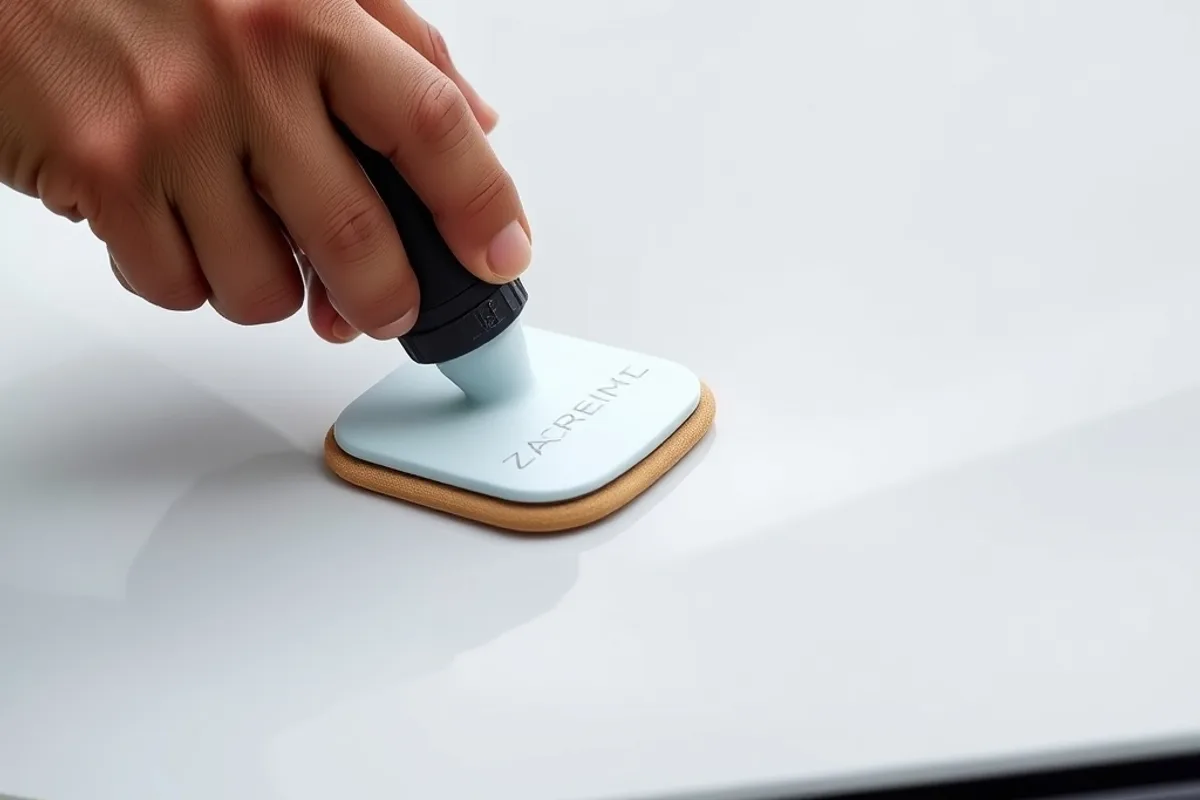
A ceramic spray sealant is the most practical protection for a home detailer. It is easier to apply than a coating kit and still sheds water well for months. Work one panel at a time, apply a thin even layer with a folded microfiber or applicator, let it flash for the time stated on the bottle, then buff off with a clean towel.
Two thin layers applied twenty-four hours apart usually outperform one heavy layer. Avoid applying sealant to textured plastic, rubber or glass unless the product is designed for it. Keep the car dry for the first day and do not wash it for at least a week so the layer can cure. A ceramic sealant is not permanent, and a harsh wash will shorten its life.
5. Finish the details
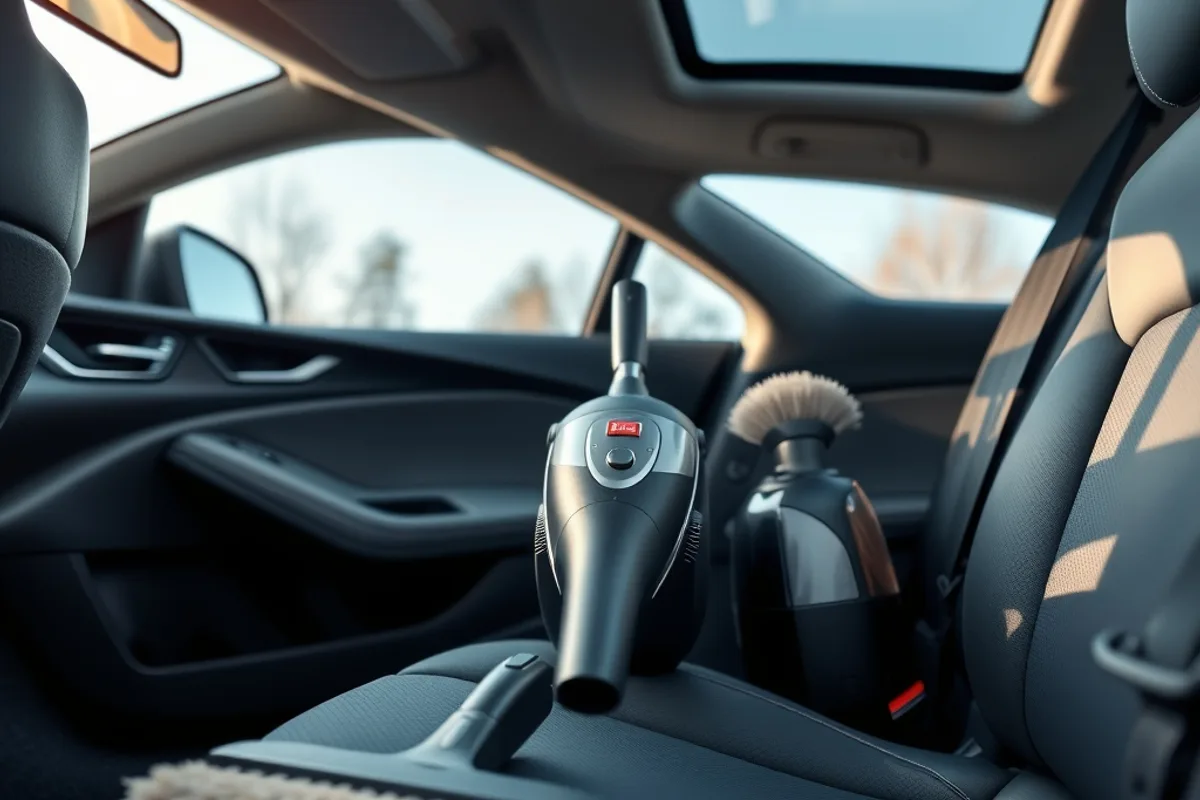
Clean the glass inside and out with a dedicated glass cleaner and a lint-free towel. Dress the tyres with a water-based product and buff off excess so it does not sling onto the paint. Treat faded trim with a restorer, and seal the wheels if you have product left over. Clean the door jambs and the fuel filler, because those areas are the first place a careful buyer looks.
For general care advice and product safety information, the Auto Care Association is a useful reference. Always follow the manufacturer's directions on the bottle, especially for cure times and surface temperature.
6. Maintain the result
Most of the shine is preserved by what you do between details. Wash every two weeks with a gentle shampoo, use a rinseless wash for light dust, and keep a quick detailer and microfiber towel in the car for bird droppings. Remove bugs and tar promptly, because both become harder to shift once they bake on.
Park under cover where possible, and avoid automatic brushes if you care about swirl marks. A careful two-bucket wash takes less time than a machine polish and keeps the paint in the condition you worked to achieve. Keep your wash media clean, replace worn towels, and store products out of direct sunlight.
The weekend payoff
A proper wash, clay, polish and seal sequence is the difference between a car that looks clean and a car that looks cared for. The work is repetitive, but the order is simple and the result lasts. Do it twice a year, maintain it with safe washes, and the paint will stay glossy far longer than the car's age suggests.
Most swirl marks are installed during the wash, not removed by the polish.Emerson Lopze Editorial
We cross-check our advice against independent, official sources. For safety data see the National Highway Traffic Safety Administration, and for real-world economy figures see FuelEconomy.gov.